Rear Window Graphic Installation Demo
-

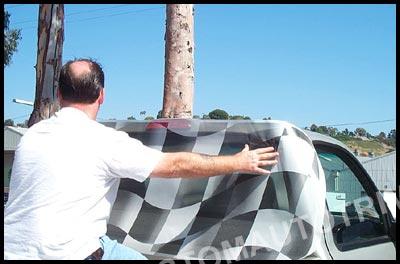
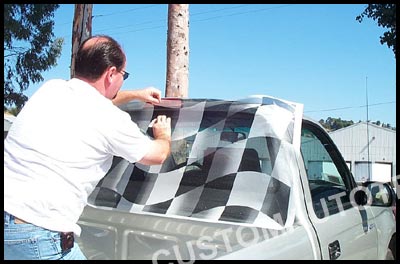
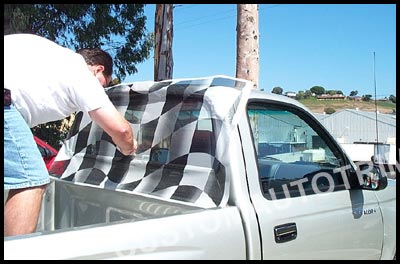
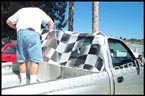
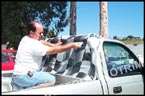
Make sure to clean the window according to the supplied instructions. Rubbing alcohol works well as a final preparation. Position the window graphic to your liking over the window and hold down with masking tape if necessary.
-
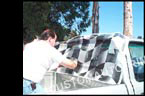
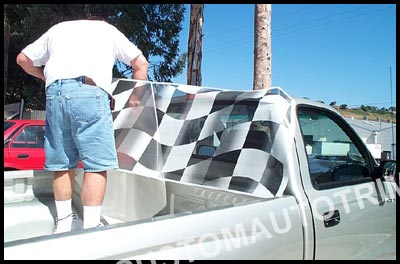
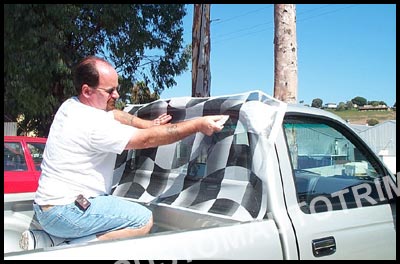
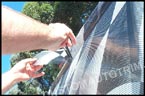
Peel back the liner from one half of the graphic and start squeegeeing it down from the center out.
-

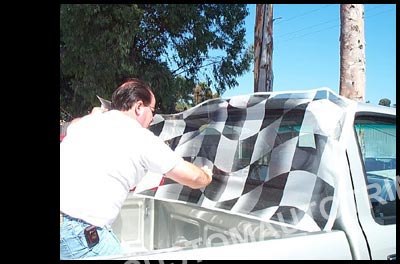
Use overlapping strokes and firm pressure to ensure a good bond. Repeat for the other half of the graphic.
-
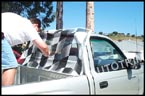
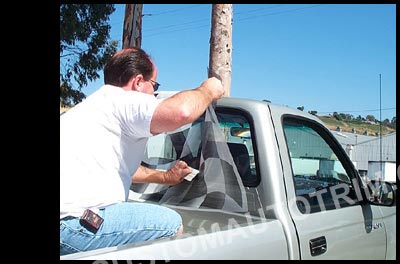
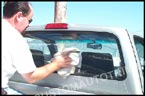
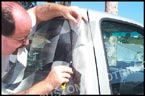
Go over the entire graphic again using the squeegee and pressing well into all edges of the window trim.
-
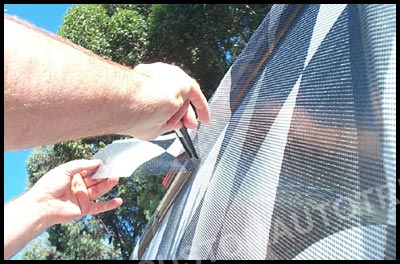
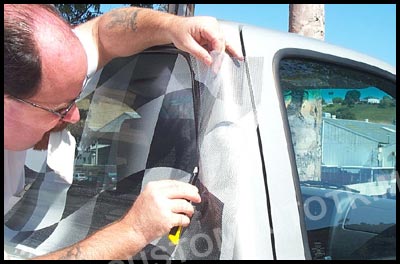
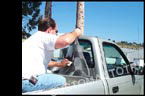
Trim the graphic along the edges of the window molding using a sharp knife or razor. Trim all the way around and peel away the excess vinyl.
-
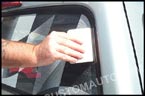
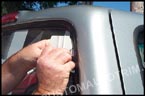
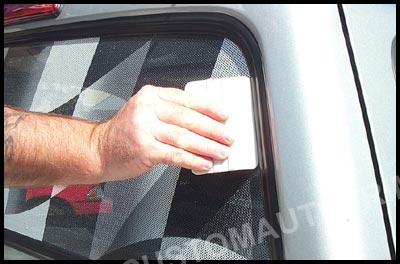
Re-squeegee the edges of the vinyl outwards towards the window molding to ensure good adhesion. Tuck any showing edges underneath the window molding or just trim them away.
-
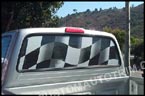

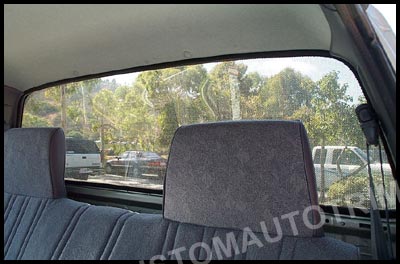
Stand back and enjoy your new image! From the inside of the vehicle you will have a clear view...
-
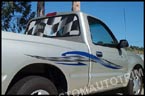
You can even add a truck side graphics kit to the sides to complete your package!