AUTOMEGA® CustomAutoTrim.Com TESTIMONIALS
Clinton H. writes:
Got my order thank you very much for the prompt response. The order [Pinstripe] was perfect , the person that took care of my order was very helpful and making the order was very successful. Thank you ever so much!
Ted Nagorski writes:
Received my order today and am absolutely, positively pleased with the body moulding. This is an exact duplicate of what the truck has originally equipped with.
Thanks so much for the fast shipping.
Larry Hatch writes:
..Thank You. Received my Door Trim yesterday. Very high quality. Great service and 2 day shipping. Excellent job.
Dianne Tyler writes:
( Rear Window Graphic RWG1954 ) I love it! It arrived fast! Looks amazing! Was easy to install! Thanks!
Janette Fontaine writes:
Hi, just wanted to show you how great the skull [Part# RWG1999] looks on my 69 VW Beetle. We have gotten quite a positive response from the look of it. Thank you for taking the time to work with us.
Stuart Gray (Australia) writes:
Hi The parts I ordered have just arrived you have given the best service I have ever received from any US supplier. Thank you.
Keith Brown writes:
I just installed the Supra style [spoiler] on my car today and it looks amazing! I had a 1991 Supra turbo along while back and love them. I have a 2002 Volvo c70 convertible now.... and needed something to make it pop. I wanted a Supra style [spoiler] and you guys were the only ones that had it. I don't normally email after a sale but was so happy with the whole thing and wanted to thank you guys...
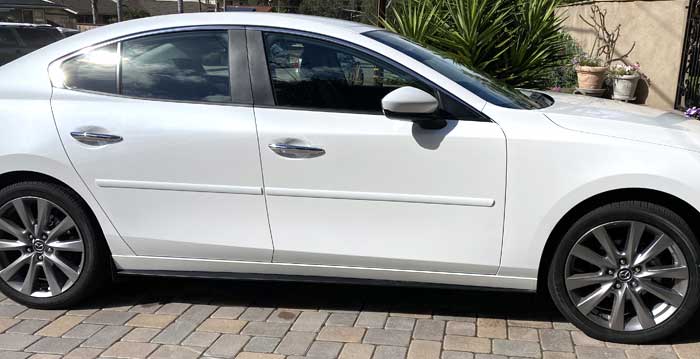
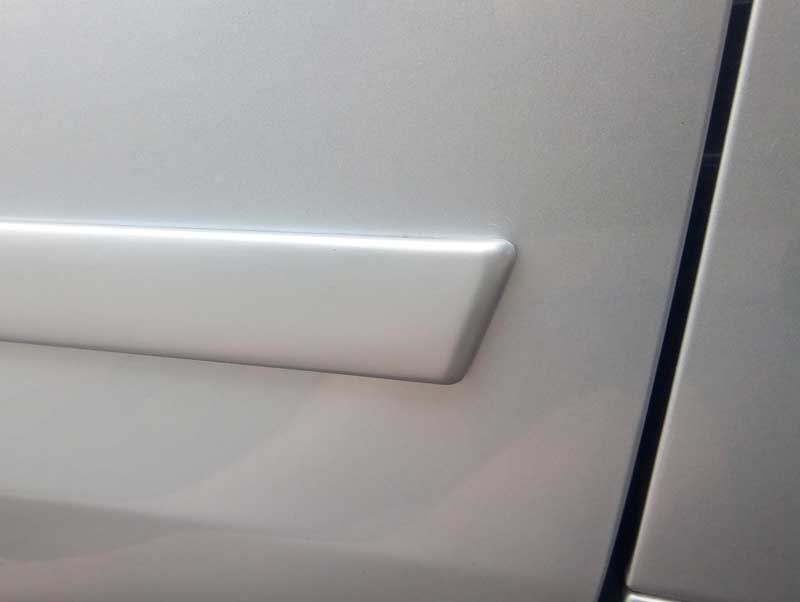
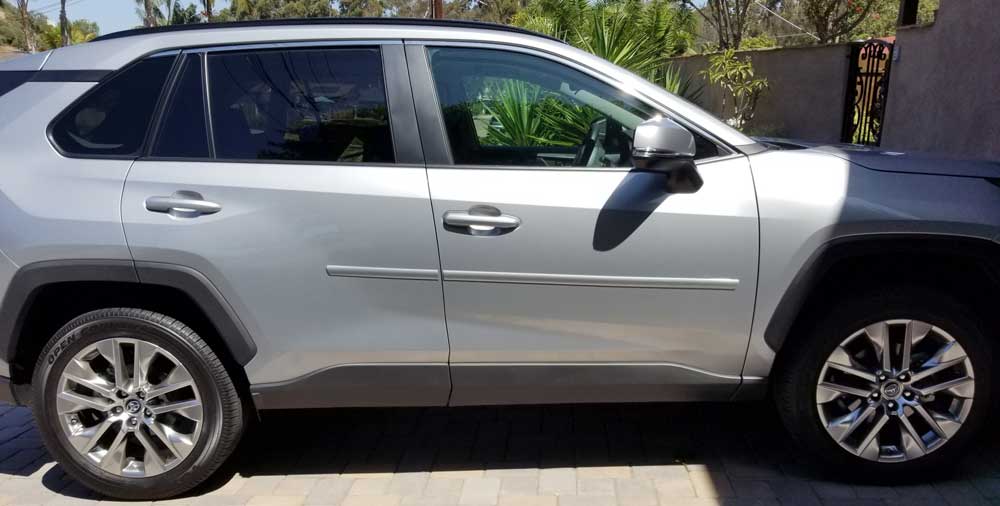
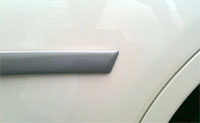
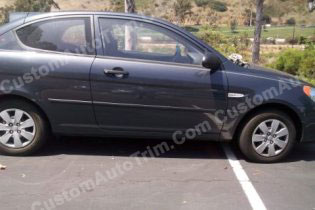
Chad Hicks writes:
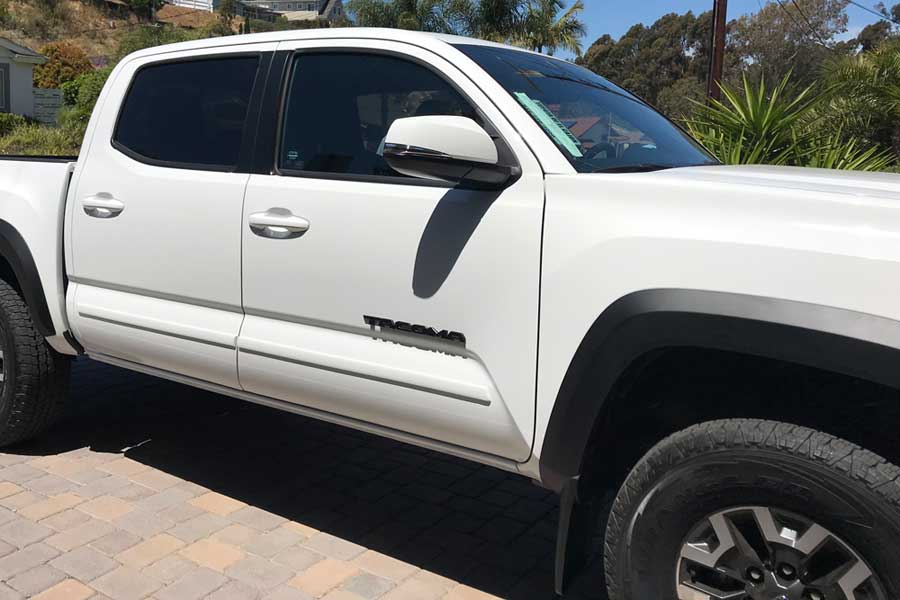
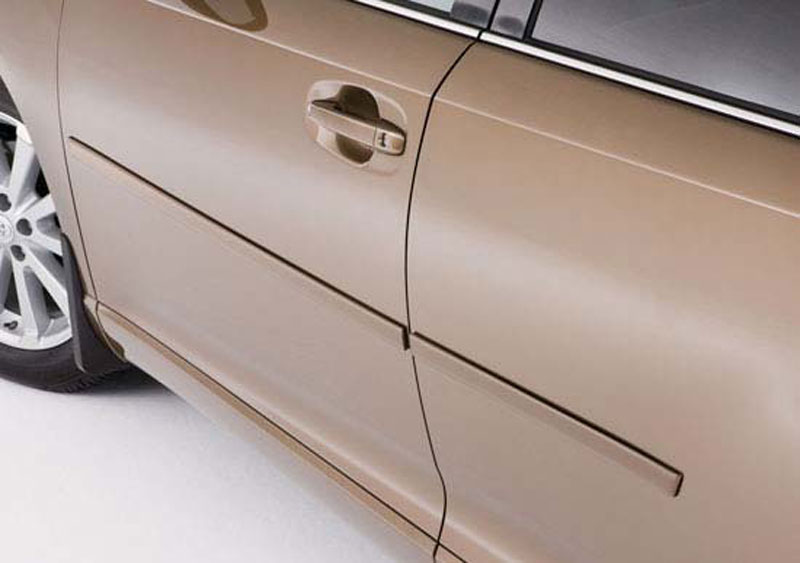
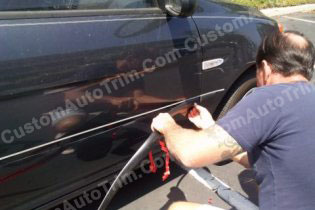
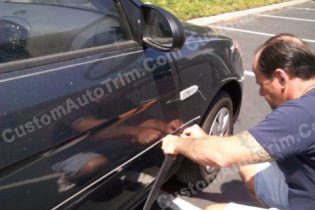
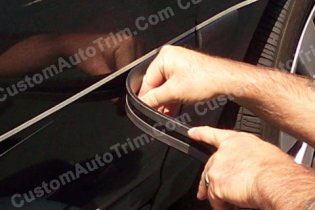
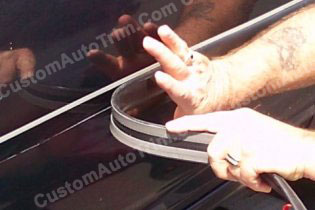
Just wanted to say thank you for the super fast service and shipment of the [body side] molding I ordered. I received the package in less than a full business day. Will be using you again if my shop has the need.
Narelle Thompson writes:
In June 2015, I purchased the vinyl insert trim from Custom Auto Trim.
I have a 1965 Ford GT Mustang that has the channel molding with the vinyl insert trim on the side [body] panels, which was a dealer option in 1965. The vinyl insert trim was original, faded and perished. After a frustrating search I was unable to source the vinyl insert trim in Australia and found Custom Auto Trim [CustomAutoTrim.com] had the same style. The Custom Auto vinyl insert [Part# INSERT] was a perfect fit slotting in the original aluminium channel molding and now the car looks fantastic.
Your service was fast and the communication was excellent. I have attached a few pictures of the before and after just so you can see the difference and how fantastic your trim looks on this 50 yr old vehicle. Thanks again for a great product and fantastic service. 1965 Mustang 'Before' Pic 1965 Mustang 'After' Pic 1 1965 Mustang 'After' Pic 2
Wes Doty writes:
I am very pleased with my order [graphic kit] and I will order from you again and I am going to order for my wife's vehicle..
Mike Marsico writes:
Anita, Wow thanks for the nice part you sent me. It worked out fantastic!!!
David Arrendondo writes:
Thank you very much for such great service. I received the rare rivet-on trims and couldn't be happier.
Kyle Miller writes:
Nice site... I found the perfect graphics for my 1998 ford expedition. My kids are going to be surprised!
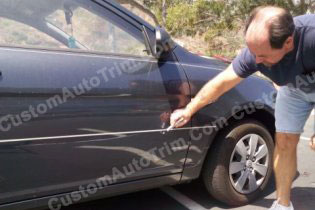
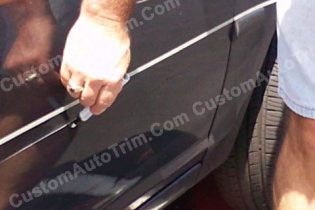
Kirk Fritz writes:
I would like to commend Anita for her customer service with respect to my selection on a side molding through AUTOMEGA. She took the time to navigate
with me through the web site to get the right product for my needs. Many
service agents in her position have an "it's up to you" attitude, and Anita
had a proactive "the right product for you" attitude. I thank her, and the
molding looks and works great so far.
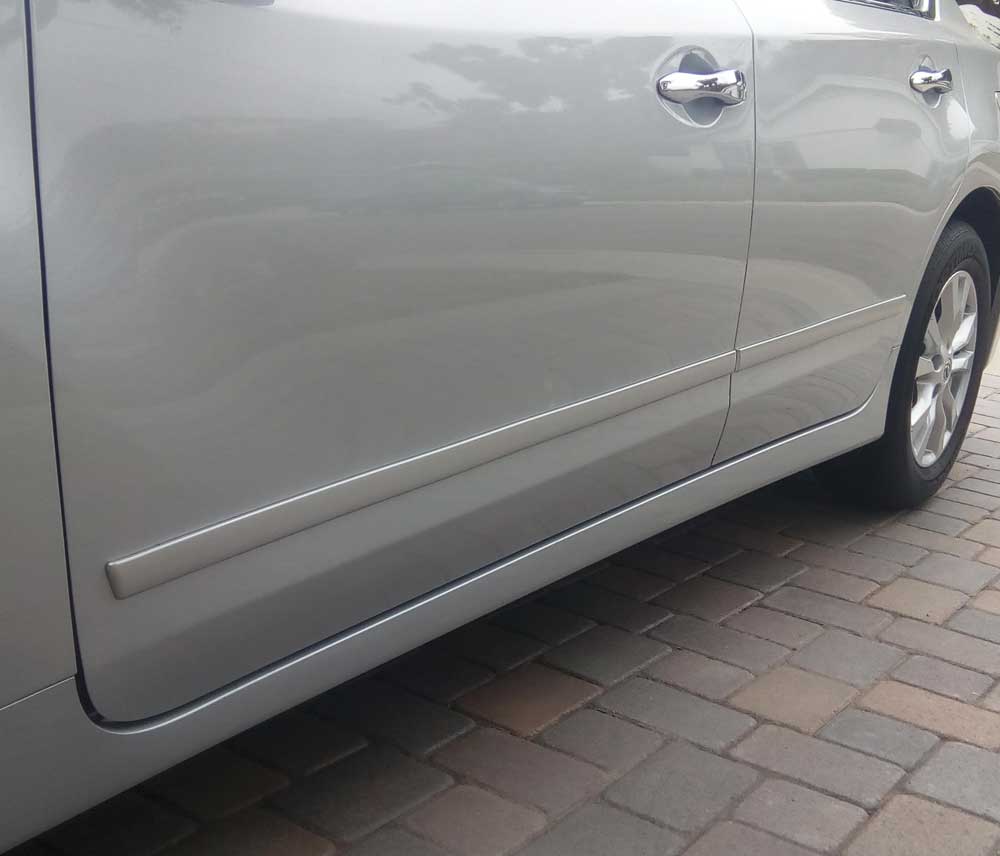
Dave Barickman writes:
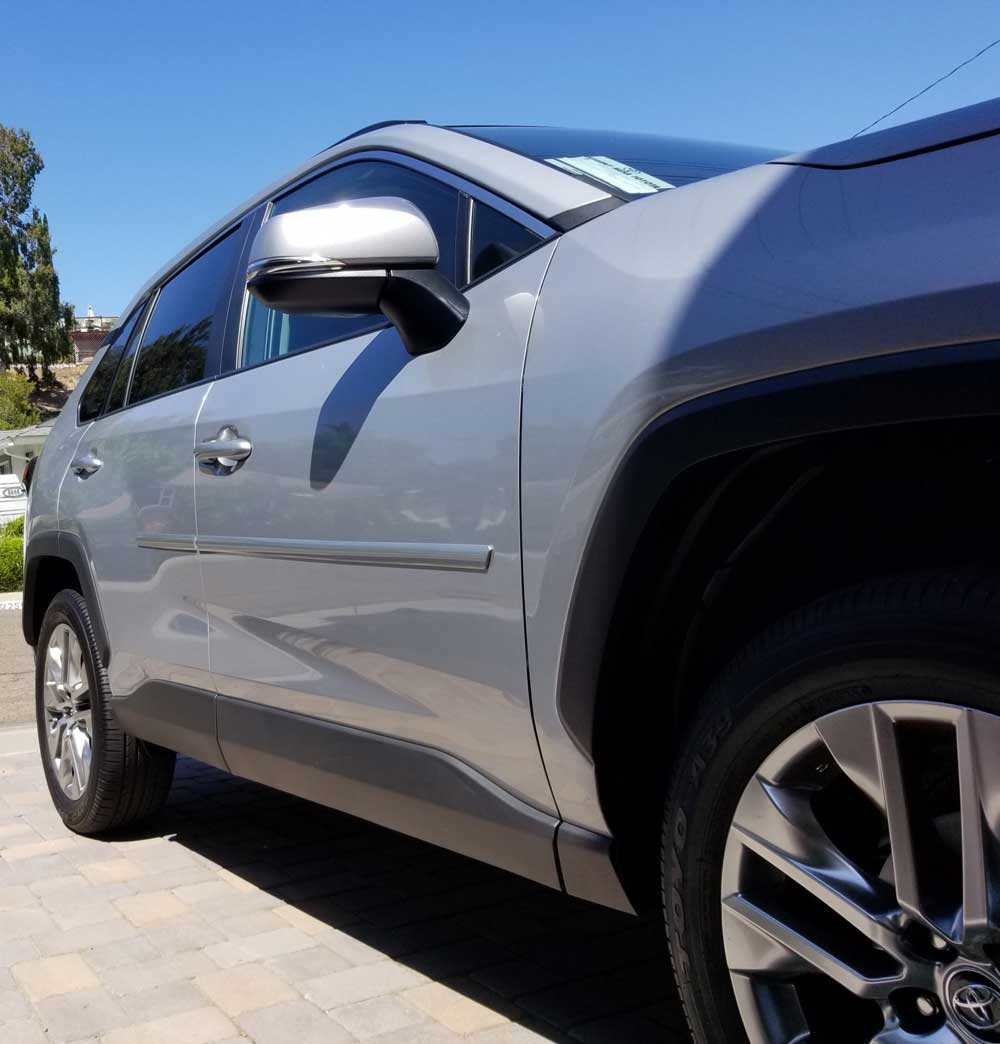
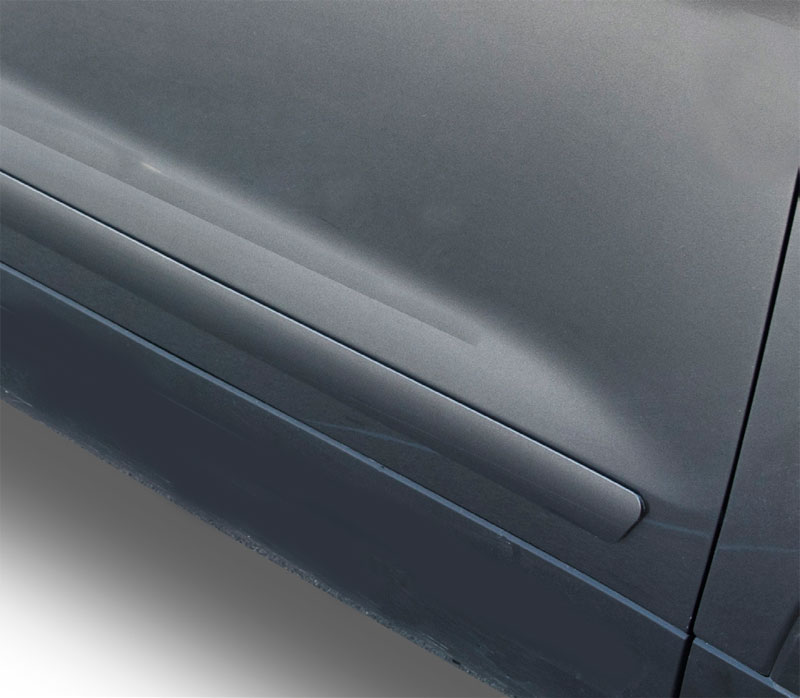
I just wanted to thank you for the great service and VERY quick shipping on the trim [body side molding]. It arrived in Kansas City in two days and was at my door yesterday when I got home. The trim looks great and will work very well on my vehicle. Thanks again!
David Goodwin writes:
Just thought I'd drop you a note to compliment you on your website. It is one of the most pleasant sites I've visited in my quest for Scout accessories. Your use of the colors and animation are well done. Navigation is efficient and all graphics and lettering are easy for these 50-year-old eyes to read. Keep up the good work!
Kathy Schad writes:
I just wanted to tell you how pleased I am with the graphics kit that I ordered from you. It was very easy to install, and really makes the car stand out, not just another white car on the road. I have had many people tell me how much they like it too. I used the extended pieces under the tail lights. I attached 2 pictures to show how the graphics looks on a Pontiac 08 G6 GXP.
Glen Porter writes:
Anita, I really enjoyed talking with you and wish to thank you for such a professional job in handling my order in such a fast time. I don't think I have ever received any better or faster service in my life! I received the rocker panels yesterday and put them on last night; THEY LOOK GREAT!! I am real satisfied with the high quality of material and workmanship and would gladly recommend your products to anyone else who might be interested.
Jeffrey G. Riblett Sr. writes:
I just wanted to let you folks know how pleased I am with my new spoiler and with the experience of buying from you. Two days after placing the order one of your employees called me at home because the paint code I gave didn't match the name of the color. He spent a few minutes on the phone with me helping me find the correct code on the car and explained how things work with painting plastic parts. I was very impressed at that. Customer service means a lot to me and your folks went above and beyond the call of duty. I received the spoiler today via UPS and was very pleased with the packaging and the paint is a dead perfect match! I am very pleased and have stated as much on the Thunderbird and Cougar Club of America (TCCoA) BBS page. I'm sure you will be getting orders from some of our other members. Thanks again for a great product and experience!
Dan Kranker writes:
Hi Anita, Thanks for the prompt, efficient, courteous service. I truly appreciate dealing with a customer service person who not only understands the product, but knows how to talk to people. Dealing with your company has thus far been a pleasure, which is entirely because of your involvement. Now I only hope the product is as nice as the customer service rep!
Nick Griffin writes:
Here it is finally done, the paint job turned out pretty good, after all the time and work it took us to get it here. Feel free to do what you will with these pics, just thought you would like to see were the spoiler was going, once again thanks for the help, I greatly appreciated your service. It is not easy to find good customer service. Pic 1 Pic 2
Gina DuQuesnay writes:
Thanks so much for taking care of [..hub caps]. I looked at what you picked out. Great choice, will work just fine. I really appreciate your help with this. You really went above and beyond customer service. Just wanted you to know that I would recommend you guys to anyone and I would do business with you again. Have a great day.
John Horton writes:
I ordered the unpainted molding [MDG145 UNF ] as you suggested and my local Ford dealership painted it to match my Sport Trac and installed the molding...it looks great, in fact Ford should produce the Sport Trac with this "look", it actually enhanced the appearance of my truck.
George Stevens writes:
I cannot believe that not only did you acknowledge my question from a prior email, but a young lady called me minutes ago to inform me of the status of this order. Not only am I impressed with your customer service, but considering you are an internet based company, the mere fact that you called tells me that you are customer oriented. Any time that I need an accessory or whatever, that can be purchased thru your company, I will buy it from you. Brand loyalty...........well, try company loyalty, for you earned a life long client.
Robert Armstrong writes:
I just ordered it Tuesday, and today, Thursday, I have it. OUSTANDING! SUPER SERVICE! EXTREMELY IMPRESSIVE!
Matt Turner writes:
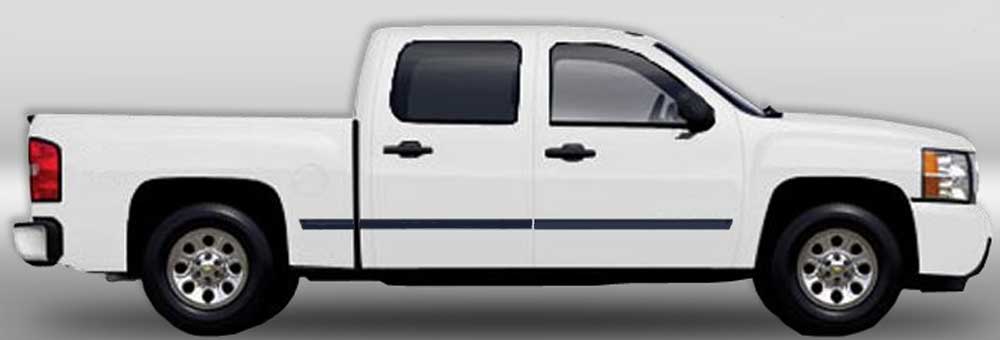
I ordered body side moulding for my 2009 Silverado. I am very pleased on how it turned out. Even someone like me, with all thumbs, managed to install body side moulding that looks factory installed! Your instructions are easy to follow and your service was fast. Thanks again!
Charles White writes:
My order came in Thursday, I ordered it Wednesday. Great job! I thought I would be waiting till after the Holidays for this. Good company!
Jim Trail writes:
Here is photo of my Grandson's 1985 S 10 Blazer that I put the graphic kit on. Was it easy, no but then tell me when anything easy is worth a hoot. Did require a few extra miller lites. When I saw the look in my Grandson's eyes, when he first saw it, I knew it was all worth it! Thanks for a great kit.
Kennett Wells writes:
I wish to let you know how pleased I am with the product and timely delivery. I've searched high and low to find the product to fill my requirements. '06 2500HD, Crew cab with long bed and wheel to wheel bars. These really look great on my truck and they were relatively easy to install. Thanks again.
April Barabe writes:
I received my order yesterday and I must say I am very happy with not only the product but the customer service. The item that you recommended [hood scoop] for me was a perfect match. If only more business' practiced like you. I look forward to many more future purchases through you and I will recommend you to all my friends. Thank you.
Mark Levine writes:
Very satisfied with product and service. Received my order of molding MDG 148 today. It matched the factory molding very closely. Thanks for the fast delivery service. I called customer/technical service several times and received courteous and prompt answers to my questions.
Stephen Morrison writes:
Hi, I would like to thank you for the fast delivery of the headlights. They look great and hopefully will be easy to install. Thanks again I have recommended your website to many of my friends!! Thanks again Stephen
Steve Gabele writes:
Just wanted you to know that I got the ramp Wed ( 2 days ago) with plenty of time to spare. Made for a little less stress on this end. I appreciate the email also giving me a heads up. Thanks so much for the hussle, I really appreciate it. That's GOOD CUSTOMER SERVICE.
Vazgen Khrimian writes:
First time I've been contacted by a customer service team without having to call once or twice first. You guys have some nice [Customer Service].
Robert L. Eisenman writes:
I just wanted you to know I had this hood scoop painted and installed and it looks great. Thanks for the fine quality product !
Peter Katowicz writes:
In the last week I called your company, and had an email response later that day, then I had more questions which I sent via email, and those were answered the next day. Thanks for your fast turn-around time, what a great company to buy from!! Keep it up please!!
Richard Lee writes:
Just wanted you to know I received my order as scheduled. I am very happy with the speed of service. I got the order at 10 am today and at 11 am I am enjoying the installed lights. Thank-you again for the excellent service.
Robert Nolan writes:
Hi, WOW!!! I received the Altezza Tail Lights for my 2002 Grand AM GT, I couldn't believe how simple it was to install, NO TOOLS!! I am so very pleased with the new look it's unreal, the clear chrome on a silver pontiac makes a statement ... thanks so much.
P.S. 2 years ago I purchased side graphics for my 2001 SPORT TRAC, and I still get complements to this day, I guess I put on some impressive look, thanks to you..
William J. Beers writes:
Shipment arrived on Thursday, Nov, 21. Was quite pleased with the stylish look and ease of installation. The bars lined up perfectly. I do wish the instructions were a little more clear but that's probably the learning curve for ya.
Thanks so much for a quality product and excellent service. I especially appreciate the call to clarify the exact style of my truck to make sure the product fit.
Larry Kelley, winner of our newsletter contest {received a FREE AUTOMEGA car duster} writes:
Thank You very much! I really appreciate the prize, I use it on my car everyday & it works great. I will contact you when I need things for my Honda Accord . I told all my friends about your company.
Kevin Stoy writes:
Thanks again for the great [service] and quality on my spoiler for my 1995 Ford Probe, we painted it and mounted it, and it looked and fit perfect!
Juan Espinoza writes:
>Thank You Very much for the Ford Explorer tails Lights, I am very satisfied by my buy...
Daniel J. Bell writes:
Just wanted to send all of those involved with my order a note of thanks for the fine service I received. My order arrived 1 day earlier than estimated, it was sent out promptly, and the fit of the part on my truck couldn't had been any better if it had been made by Mopar! I will be back to do more business with your fine company in the future. Thanks again and have a great day!
Tony McJilton writes:
Here are the answers [to the contest]... hope [I win] the sweatshirt . X Large works . Thank you so much for taking the time to put together a great website with lots of info and good deals.
Craig Waterstreet writes:
Thank you for your prompt quality service! I will refer others to your business.
Dennis Maltais writes:
Just received my order the other day - a painted custom spoiler for my Toyota. It arrived in perfect condition, the paint was beautiful, and for anyone with a little mechanical ability, the installation was very easy. I am extremely satisfied with your product and your service. Thank you.
Bob Heinz writes:
… the air dam is better than I expected. I've owned my '72 240Z since '79 and have had many air dams before.. I always wanted one that wasn't fiberglass and was I pleased when I saw the new one!
Leroy Stevens writes:
You rule...I love the bed rails for my s-10 and they aren't even installed now, just sat them on the bed and it looks great, the measurements were perfect and the delivery was super fast. I got mine 1 week earlier than expected. thank you CUSTOM AUTO TRIM for your prompt service and for making my anniversary and mothers day complete. my wife loves my truck too.
Adam Apodaca writes:
Thank you for your timely service. I appreciate the rush order. I am glad I did business with you.
Michael E Zukowski writes:
I'm sending a Picture of My 2000 Daewoo Leganza again, with your graphic kit on it. I am very pleased with the quality and the look. Thanks.
Michael Spradlin writes:
I was extremely pleased with my order. I placed the order on Sunday night and received the order on Wednesday night. I thought this was extremely quick coming from the West Coast to the East Coast. My neighbor is the manager of an auto body shop and he was complementing the quality of the airbrushed vinyl graphics I purchased. I enjoy watching heads turn as I drive by. Even after a month, I still smile every time I see my truck with the new graphics on. I've enclosed a couple of pictures of my truck. Pic 1 Pic 2
Douglas Cabaniss writes:
Dear Sirs, I too am a happy customer. I ordered one of your graphics packages a few weeks ago. It shipped really fast, was a breeze to put on with your online video help, and looks absolutely great.....or so sez all my friends and myself!!
The enclosed photos are yours to do with as you like. Pic 1 Pic 2
Keith writes:
Thank you!!!!! I received the package today, and I'm very pleased. Thank u so much for the great product and service. I will look forward to doing business with this company again some time soon.
Paul L. Gaiser writes:
I would like to extend my thanks for the prompt processing and shipment of my order. The dash Kit looks great and I can't wait to see it when it's installed.
Jule Malowitz writes:
Suzanne: I would like to take a moment to thank you for convincing me to purchase the wood grain kit for my Hyundai Santa Fe. My overwhelming apprehensions regarding the installation were easily put to rest after I finished the project. It really was not difficult but definitely detailed and time consuming. The job came out great and looks like a factory finish. Your company also needs a round of applause for expediting the order. I'm not sure where else one could get better service on the Internet. The kit was ordered on January 24th and received at my doorstep on the 25th… I will look forward to dealing with you in the future.
Jack Orlando writes:
Hi. Just a quick note: I installed my Wood Trim package on my 2000 Olds Alero dash, doors, etc. After very careful prep (Which I know is of most importance because I am in the business of epoxy coating supply), it took me about 45 minutes to install the various pieces. I started with the simplest piece and worked my way up to the more intricate piece which went around the radio, AC, etc. controls in the center of the console. I am happy to say that it came out quite well, and it really gives the interior of my Alero that luxurious, custom look. People who have seen it, think it came from the factory with the wood trim. I am very pleased with it. Thanks for offering such a well made package, with very clear and concise instructions.
Robert Del Russo writes:
I purchased a wood dash kit from your company last month. I belong to a car club on the internet specializing in Oldsmobile Alero owners. My car is featured on the cite and the members have shown a particular interest in my wood grain kit . . where I bought it and how I installed it etc. I thought your company might be interested in knowing that I posted the information on the cite and included a link to AutoMega. You may want to visit the site and see what I am talking about. I am enclosing the picture I took of the kit installed in my car you may like to use it to help your Alero customers see how nicely this particular installation looks. Pic 1 Pic 2
Dan Dyer writes:
The wheel covers were exactly what I was looking for. Thanks for great service, will add your Co. to my web list and will contact you if I need anything else you carry.
Jim Sheltraw writes:
Good Afternoon, Received my order for a spoiler for my wife's New Beetle this morning. My compliments on the promptness of the order, and the quality of the product. Color match is perfect and the finish is flawless. Can't wait to get it on the car. Thanks for your service.
Joey O writes:
I Installed the dash kit in my 98 Eclipse following instructions to the letter. Couldn't have been easier and it looks great. Thanx for your assistance, and I will certainly recommend you to others who will undoubtedly ask where I got it from.
John Leader writes:
I installed my Carbon Fiber Dash kit from Custom Auto Trim this weekend and my New Beetle looks great. As a thank-you to your company for its reasonable price and your friendly, personal service. Again, thanks for your encouragement...you were right...it was easy!
Charles Webb writes:
Today, I installed the wood dash kit I received from customautotrim.com and I am very satisfied with the quality of the product. I feel the install looks just as well as the wood dash kits I have saw installed on other Toyota's from the dealership as a "port installed option".
Rick Van Leeuwen writes:
The parts came yesterday. Perfect match. They look terrific - really completes the console in my Land Cruiser. It was interesting how they shipped them, all laid out on a piece of cardboard. Anyhow, thanks so much for customizing my order. I'll keep you in mind if anyone asks "Where did you get that beautiful wood dash?"
Michael Estey Jr. writes:
I received my order and I am very happy with your products and your company. Your prompt delivery was appreciated, and I plan to encourage others to order from your company.
William Gonzalez writes:
Boy, those five days sure went by fast because I received the kit the next day of my order. Thank you very much, the wood kit is very nice and I have already installed it on my 4Runner.
Kasha Adrian Hall writes:
Thanks a BUNCH! If the product quality/warranties are anywhere near as good as customer support, I will be EXTREMELY impressed.
Carl Dolinka writes:
I received my wood package and installed it myself. It arrive promptly, installed easily, and looks great. Thanks for your help.
Dan M writes:
It was a pleasure doing business with your company today. My daughter will be thrilled to get the spoiler for her Integra. Thanks again, Dan
Christopher Lewis writes:
You guys rock!!! Spoiler came fast as [****] and it looks awesome. Went on the car without any trouble and looks great! Perfect color match, highly recommend & will buy from you again!!
William Valdez writes:
Hey just wanted to say thanks for the [Xenon] body kit. I recieved it just when you said I would, the price was awesome thanks alot. . . pleasure doing business.